
Our Professional
Installation Process
Precision, durability, and a flawless finish. We follow a rigorous 8-step industrial-grade protocol to ensure your floor lasts a lifetime.
Step-by-Step Excellence
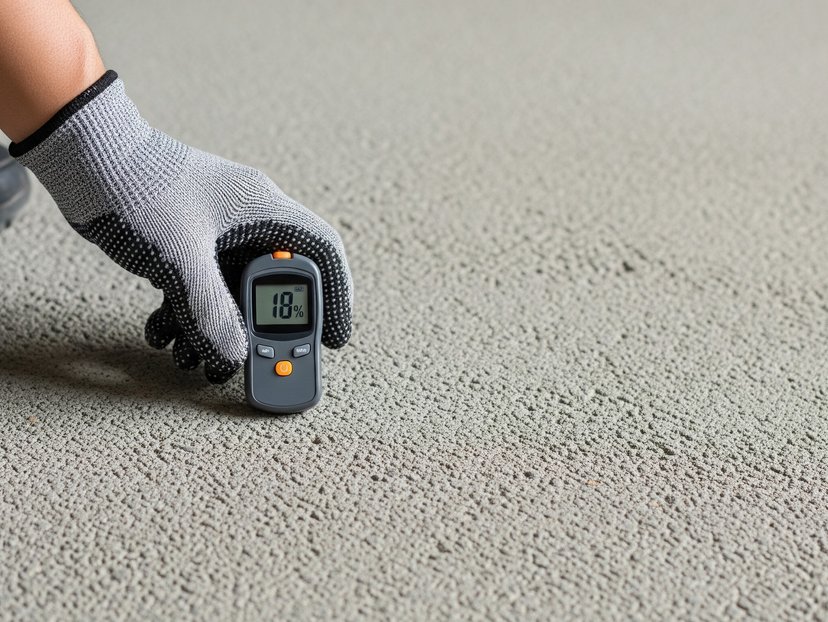
We test moisture levels and concrete hardness to determine the best resin chemistry for your specific environment. Failure to inspect is failure to prepare.
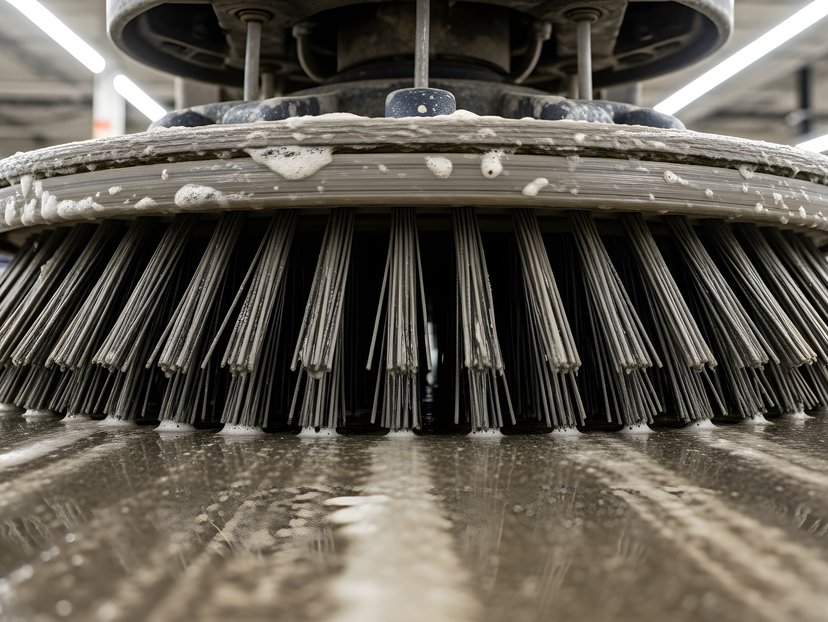
We clear the slab of dirt, grease, oil, and old coatings before any repair or grinding begins. Even trace contaminate can prevent a proper bond and lead to premature failure.
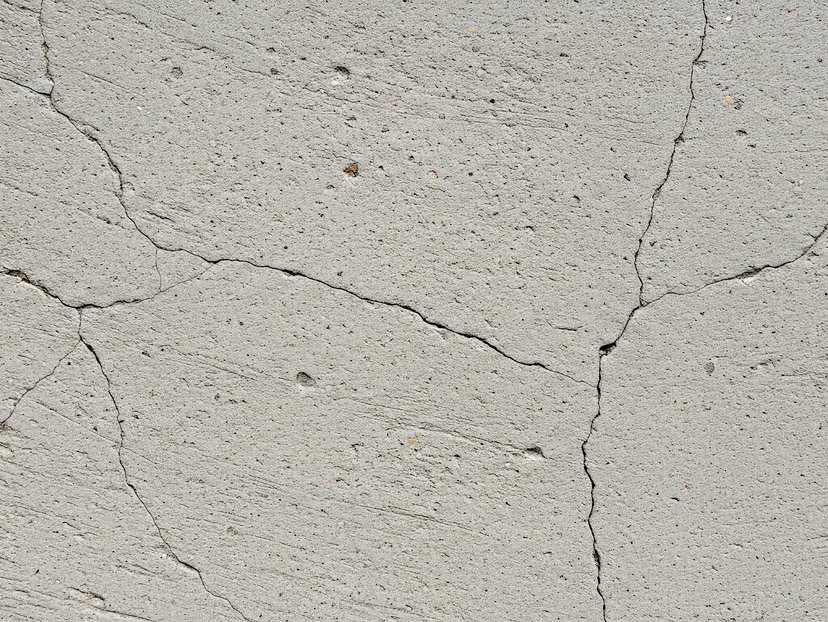
Cracks, spalling, and divots are filled with a high-strength filler compound, securing the slab's structural integrity before any finish is applied.
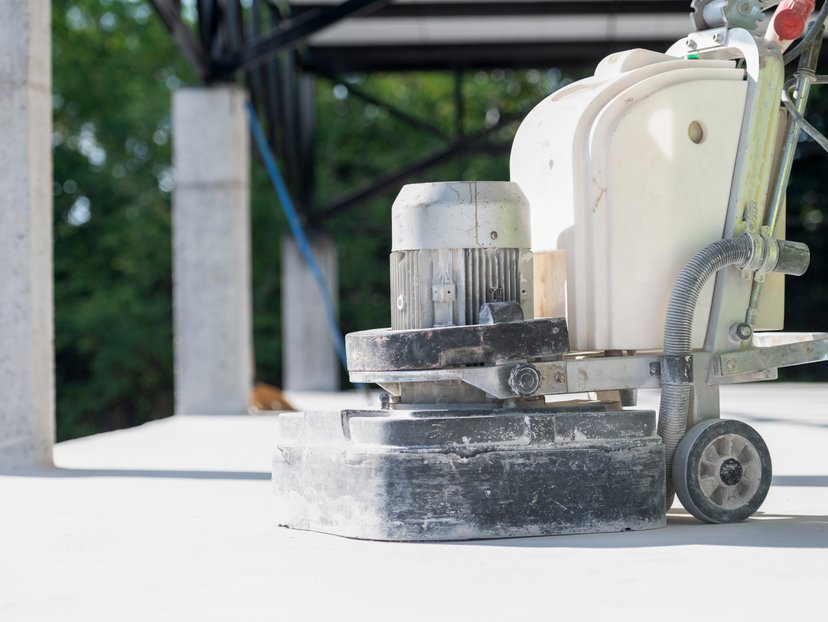
Our diamond grinders open the concrete to a CSP 2–3 profile, creating a porous surface that allows the coating to soak in deep.
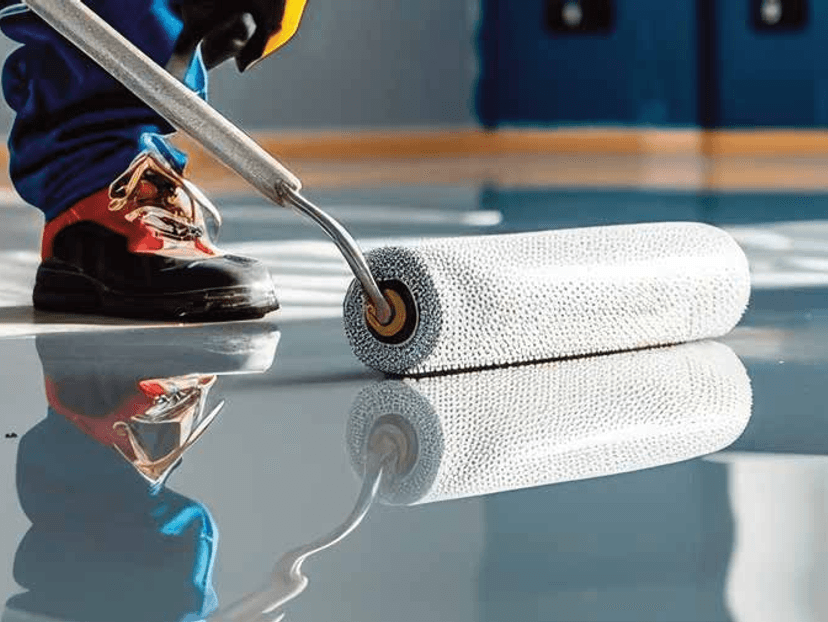
We apply a base coat that bonds directly to the prepared concrete, creating a reinforced foundation for the layers above and locking in durability from the ground up.
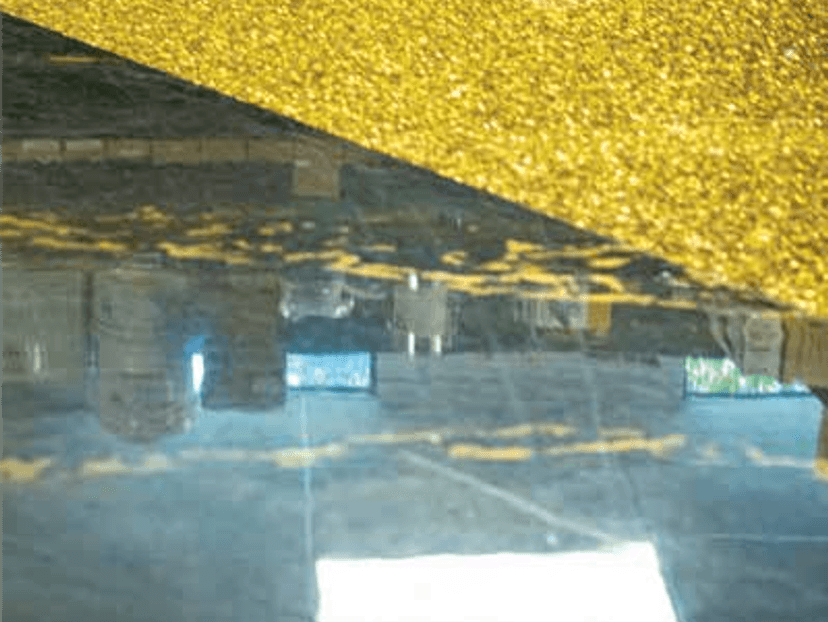
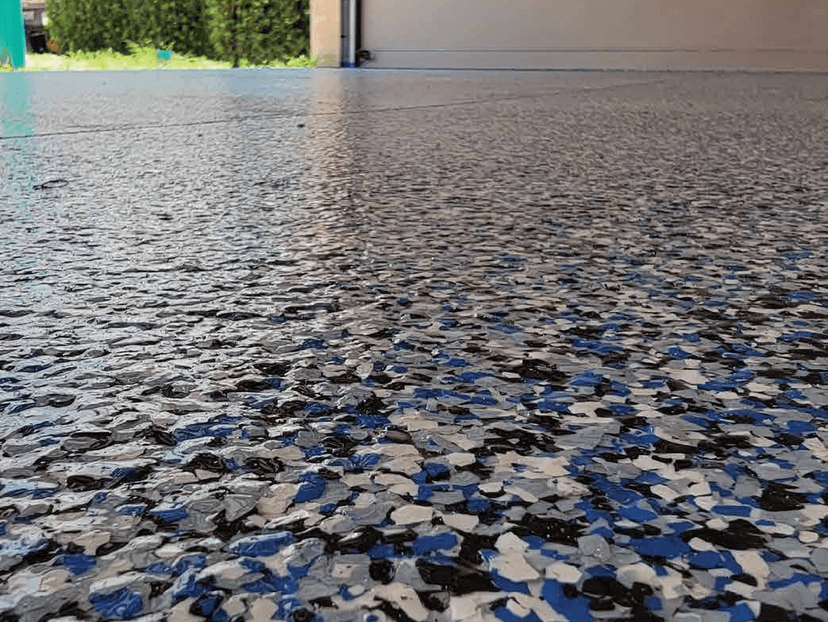
Flake, quartz, or metallic pigments are broadcast evenly across the wet base coat, creating the color, texture, and character of your finished floor.
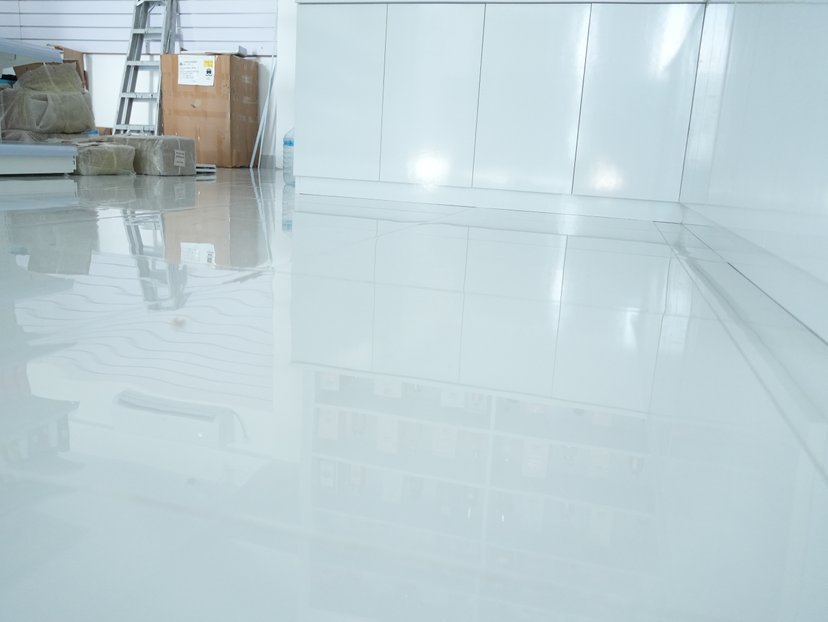
We apply a UV-stable topcoat that guards against yellowing, abrasions, and chemical spills while delivering a hardest, longest-lasting shine.
Our project lead walks the finished floor with you, confirming every detail. It crosses our quality standards before we consider the job complete.
Why Our Process Is Better
| Feature | The Hardline DFW Way | Standard DIY/Competitors |
|---|---|---|
| Surface Prep | Industrial Diamond Grinding | Acid Wash (Inadequate) |
| Material Grade | 100% Solids Industrial Epoxy | Water-based DIY Kits |
| Cure Time | 24 Hours for Foot Traffic | 3–5 Days |
| UV Stability | Polyaspartic (Will never yellow) | Yellows in 6–12 months |
| Warranty | Lifetime Performance Warranty | Limited 1-Year |
Frequently Asked Questions
How long does the entire installation take?
Most residential garage projects are completed in 1–2 days. Larger industrial projects may take 3–5 days depending on the square footage and floor condition.
Is there a strong odor during application?
We use low-VOC (Volatile Organic Compounds) products that have minimal odor. Most customers find the smell completely gone within 24 hours.
How do I maintain my new epoxy floor?
Maintenance is simple: just a dust mop for regular cleaning and an occasional damp mop with a pH-neutral cleaner. No waxing or resurfacing is required.
Can epoxy be applied to old or cracked concrete?
Absolutely. Part of our preparation process includes repairing cracks and smoothing out imperfections to ensure the final result is seamless and strong.
Do you offer a warranty on your work?
Yes. Every installation comes with our Lifetime Performance Warranty. If the coating fails due to our workmanship or materials, we come back and fix it — no questions asked.
How soon can I drive on the floor after installation?
With our polyaspartic topcoat, you can walk on the floor within 24 hours and drive on it within 48–72 hours. Standard epoxy kits from big-box stores often require 5–7 days.
Ready for a Floor That Shines?
Join hundreds of satisfied homeowners and businesses. Get your free, no-obligation estimate for your next epoxy project today.